Weather Demo for SwiftUI
When you are starting out learning a programming language or system, you often go through tutorials which give you a sense of what everything is about. But then you try to code something yourself and things get fuzzy. You read about concepts and techniques and try to put them together for your own work. Its really a learn-as-go process.
I thought I’d help out a little and I created a small, but complete, SwiftUI app. The link to the GitHub repo is below. Its called “WeatherDemo” and, as the name suggests, is a weather app. I picked weather because there are a lot of weather apps so another one wouldn’t make any difference. More important though, the point of the app is straightforward but can cover a lot of topics. Being a small app its also easy to get your head around and understand the flow of the data and the lifecycle of the elements.
Here are the topics covered by WeatherDemo, in no particular order:
How to ask permission to get the device’s current location.
How to use Core Location to search for places.
How to use Core Data.
How to use URLSession with Combine to make REST API requests from openweathermap.org
How to use the Decodable protocol to digest JSON data from the remote request.
How to create custom SwiftUI components.
How to use the Size Trait Classes to handle different screen orientations.
How to create Extensions to classes.
How to do simple localization to support multiple languages.
How to use SVG images in SwiftUI apps.
The app requires iOS 14 and Xcode 12. You will also need an account with openweathermap.org (the free account is enough) in order to run the app.
You can download or clone the GitHub repository here at weatherdemo-ios.
There is an extensive README in that repository; this article is merely an introduction.
The WeatherDemo app’s structure goes like this:
Services are used to get the device location and to fetch weather information from openweathermap.org.
A controller (or model) coordinates between the services, fetching new weather information as needed. The controller is an
ObservableObjectand@Publisheda set of values which are observed by the UI components. These areCombineframework items.The
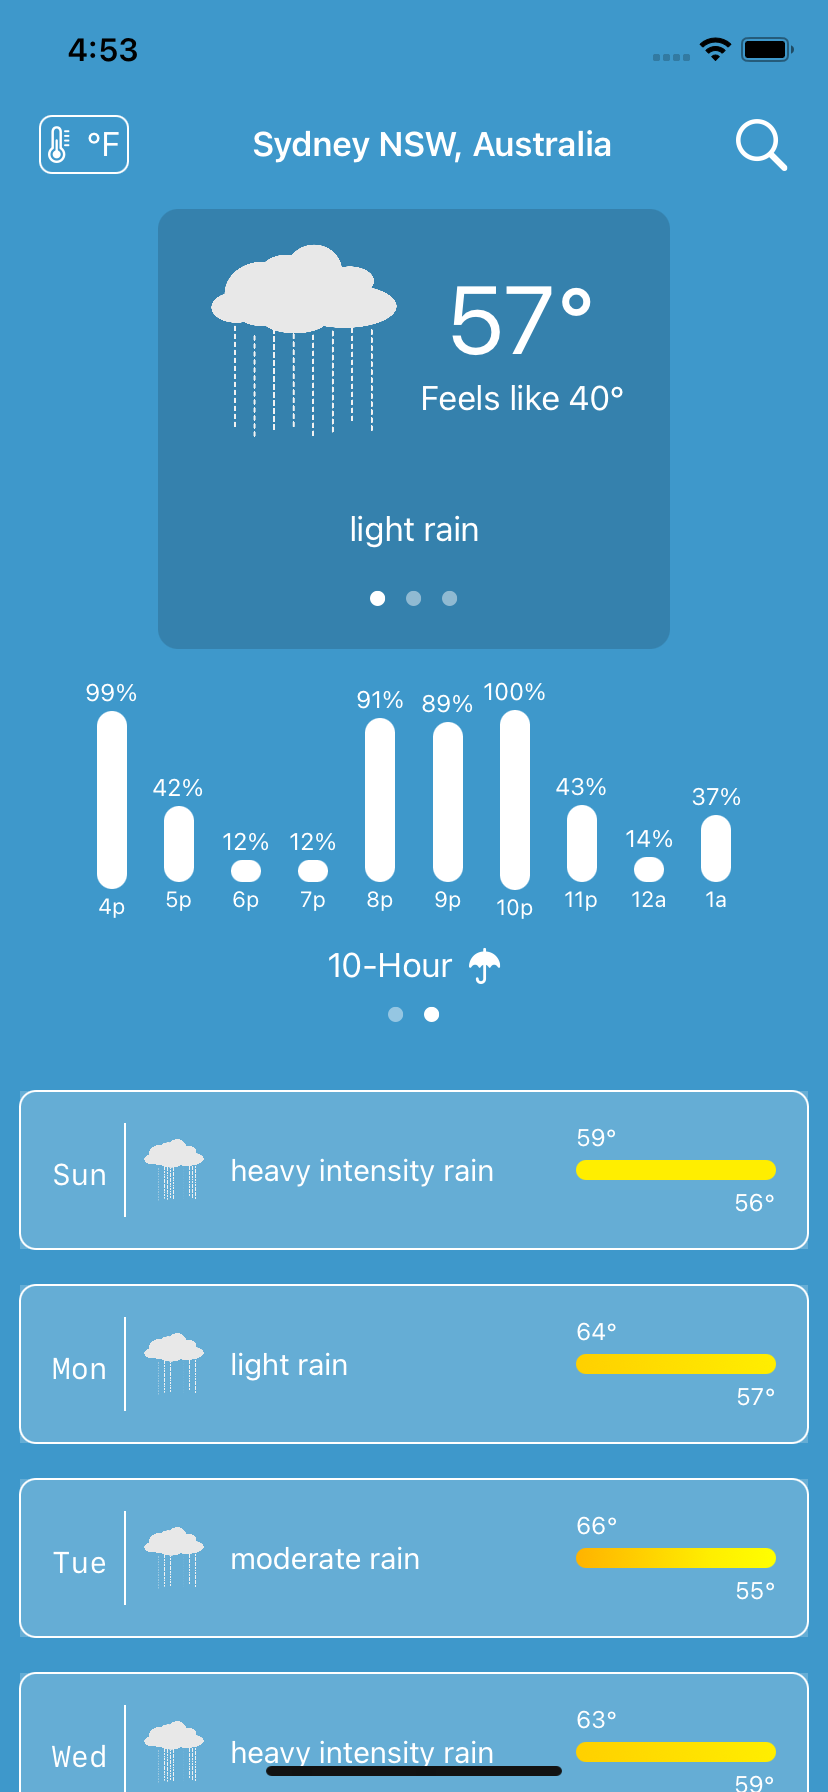
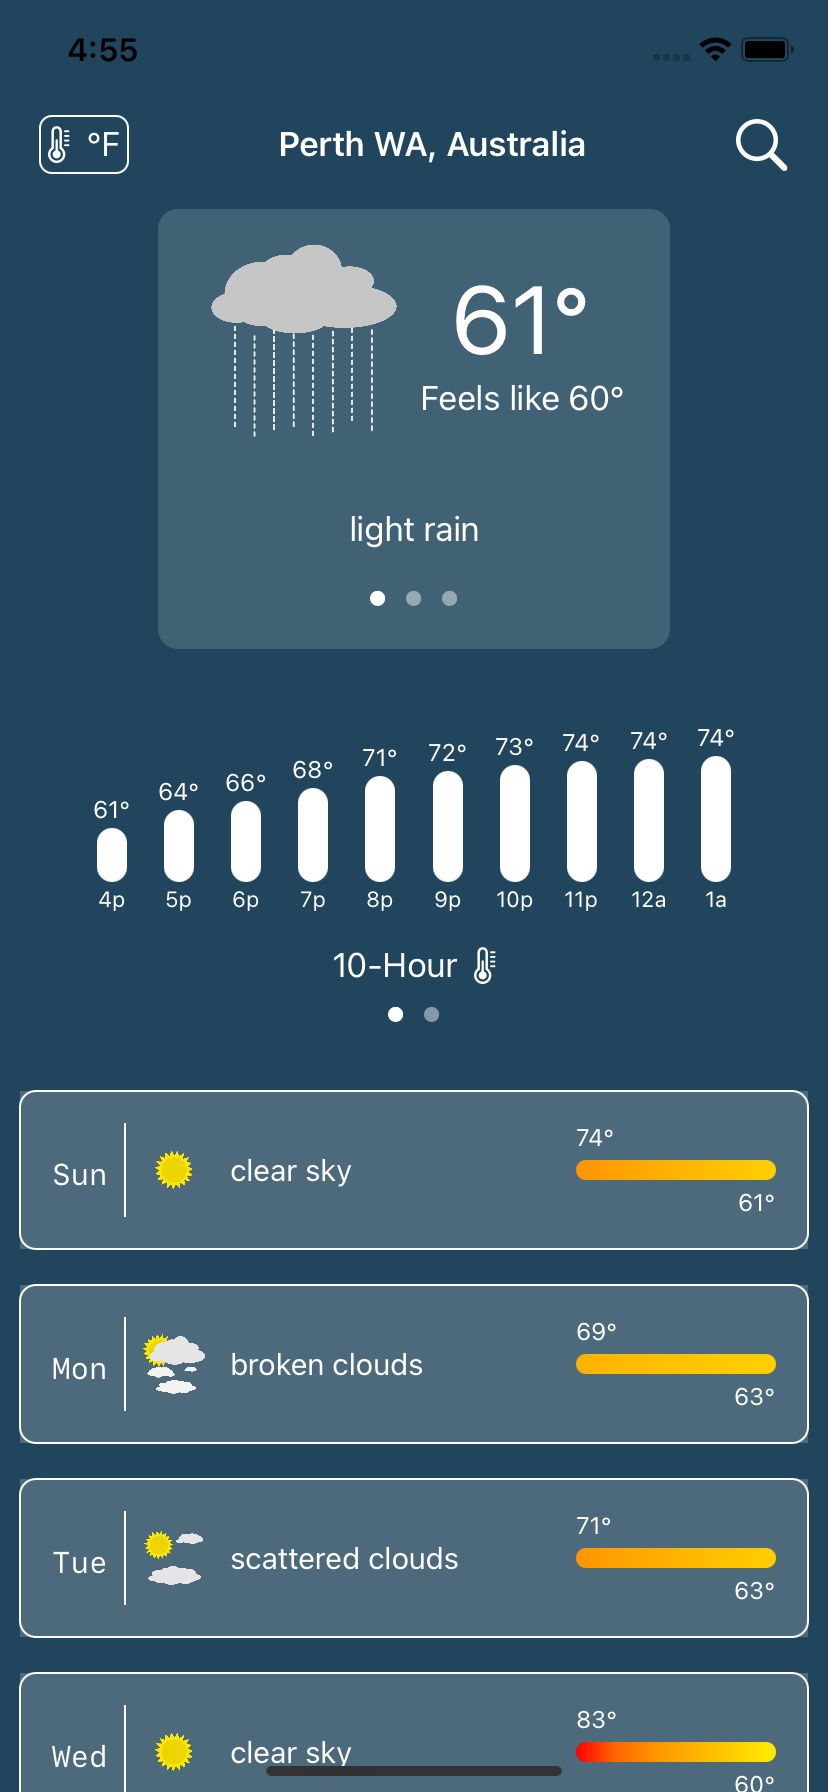
ForecastViewdisplays the weather data in the controller. Because of the way SwiftUI and Combine work, telling the controller to get weather info for a new location will cause theForecastViewto update.The
LocationSearchViewis asheetthat displays search history as well as search results while you type. Pick a search result and the controller fetches the weather for that location.
That’s really all there is to the app. You’ll find a folders for helper components for both the ForecastView and the LocationSearchView. These are custom SwiftUI components that do things like display the wind speed or a colored temperature bar or the search term field.
SwiftUI really encourages breaking your app down into small parts and composing your app out of the them. You will find that a lot but not 100% throughout the app - it gives you a chance in some places to try it out yourself.
One of the things the WeatherDemo app does is display a graphic that represents the weather (like the sun or moon in clear conditions). These images were hand drawn by me (I’m not bragging, as you’ll see, just pointing out there are no copyright issues with the images) using an SVG editor. Using SVG images in iOS app is very recent. Normally you create a graphic at three resolutions so iOS can choose the best one for the devices. As there are more and more iOS devices with different resolutions, it is much better to use scalable vector graphics. Not only do they look good across all devices, but it means there is only one image to maintain. Plus, most graphic artists can make SVG or export SVG fairly easily.
I hope you get something out of this project. I would not take WeatherDemo and hold it up as an exemplar of best practices or a template for all your endeavors. It is meant to be a bit of a hodgepodge to demonstrate techniques with a reasonable amount of coherence. With that in mind, enjoy!