Using Targets to structure your IOS app
Just thought I’d pass this concept along. If your app is big (code-wise) or is going to be big or you think it may become big, here is a technique to help you manage all of the parts in a nice, testable, compact way.
When you first start out writing iOS apps, you may have a vague notion about “targets” which is, simply, the thing that gets built. In other words, your app; the target of the build process is your app. You may have asked yourself, why would I want to use multiple targets in a project? One reason may be you have a Watch app to complement your app or you may have a Widget. Here, though, I will show you how you can use targets to organize your code to make your app more manageable.
I don’t have a GitHub repository this time, because the code itself is almost irrelevant. Its the concept here that’s important.
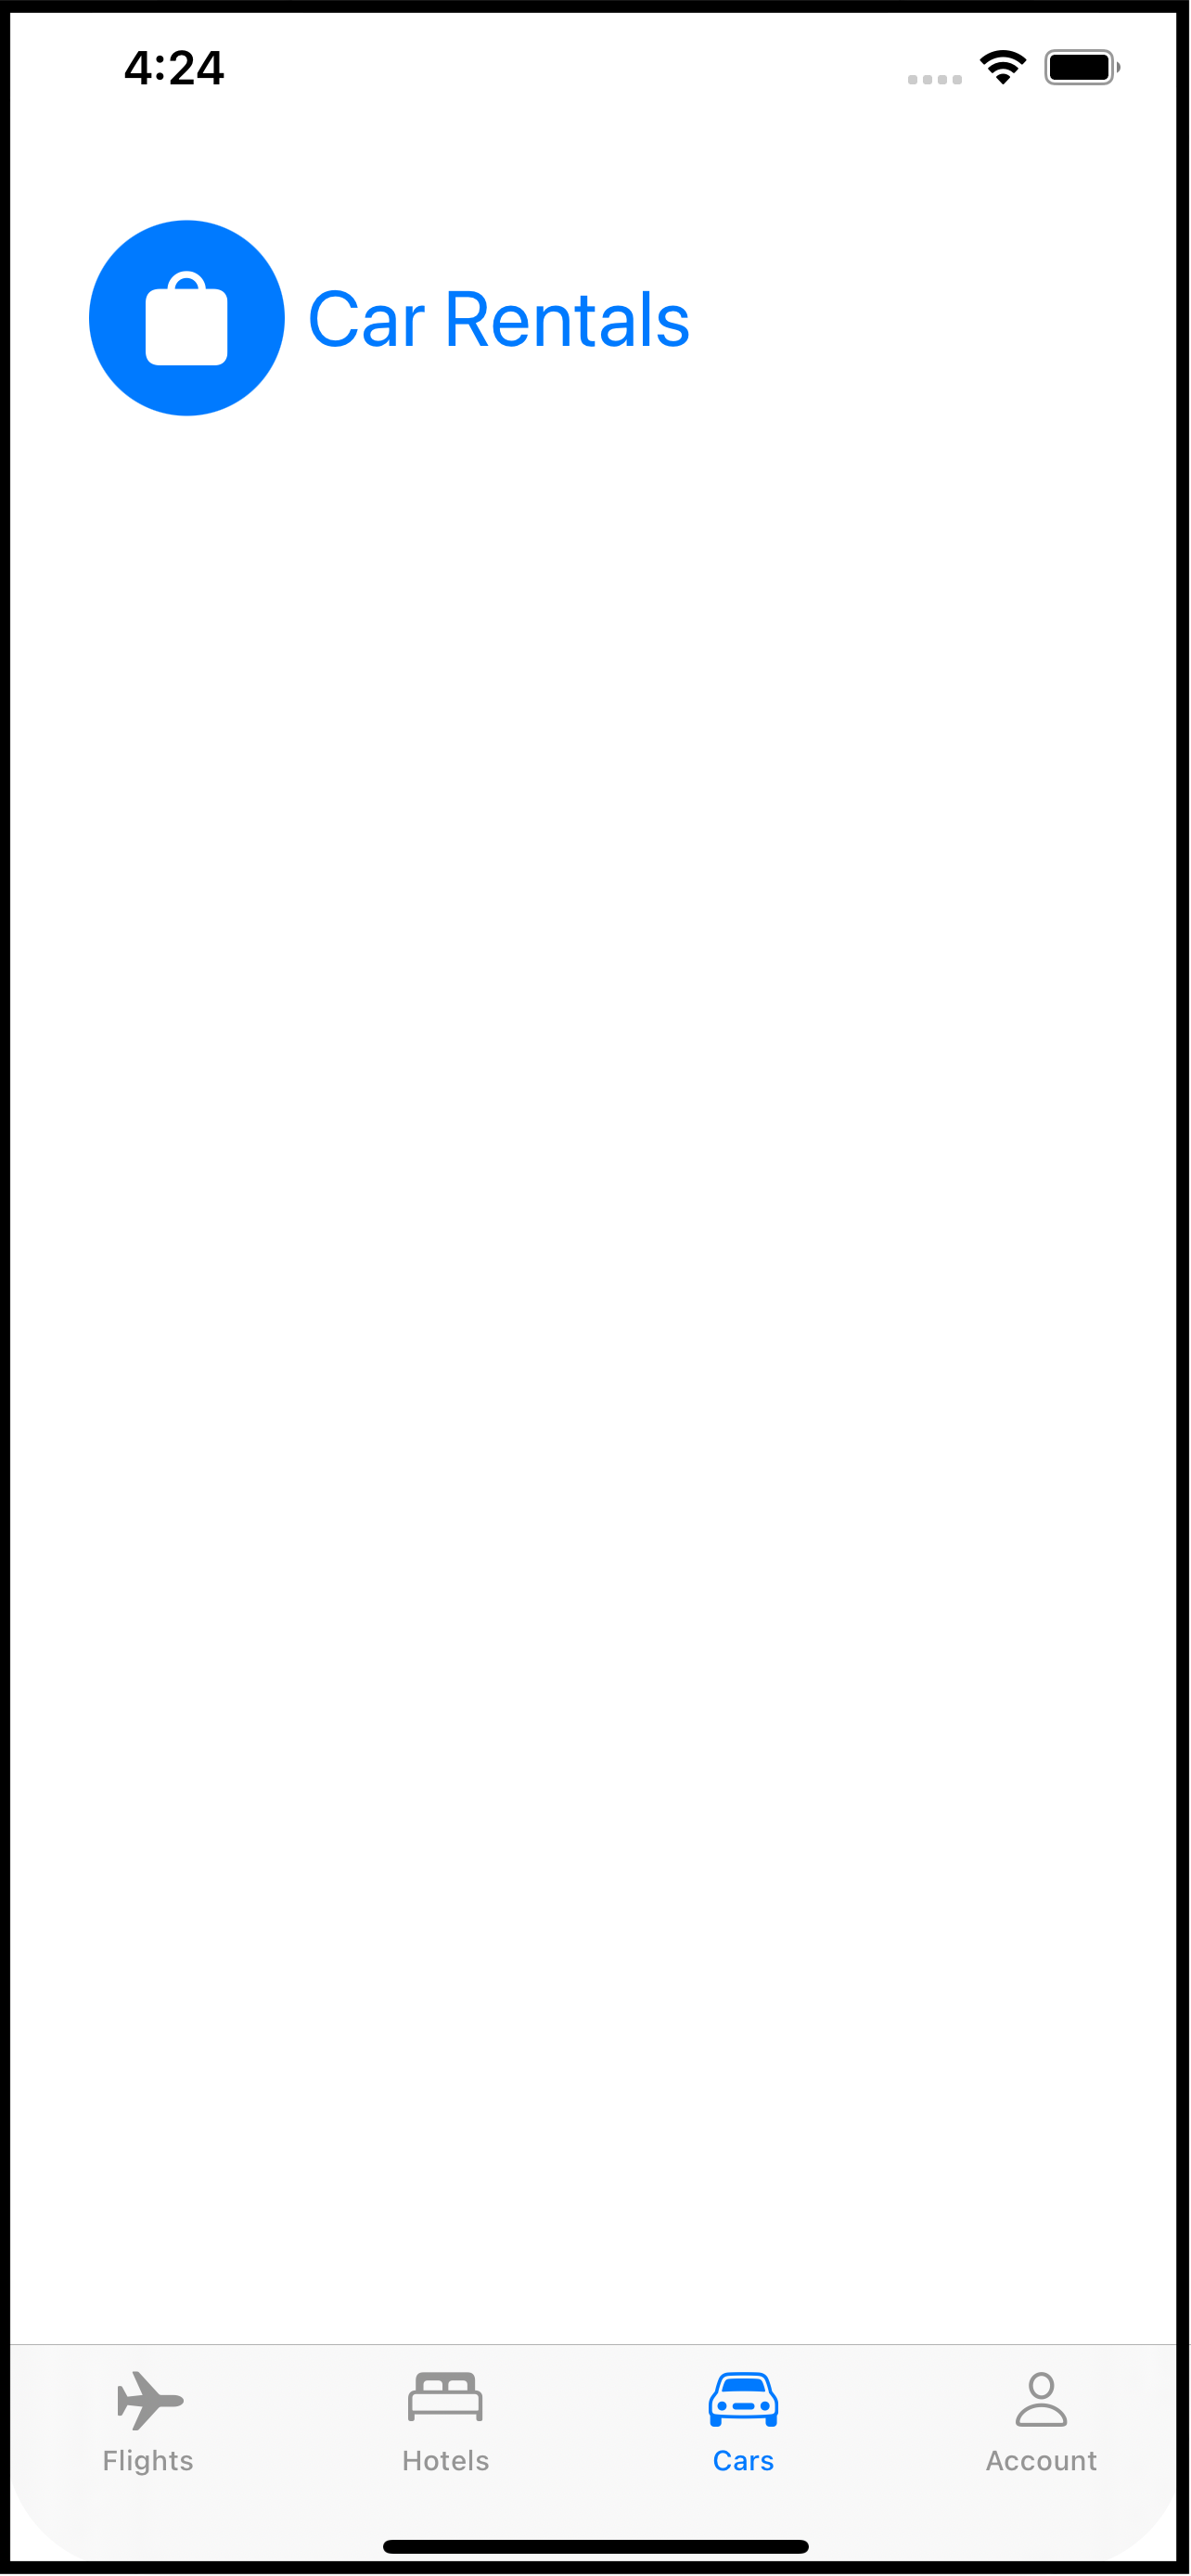
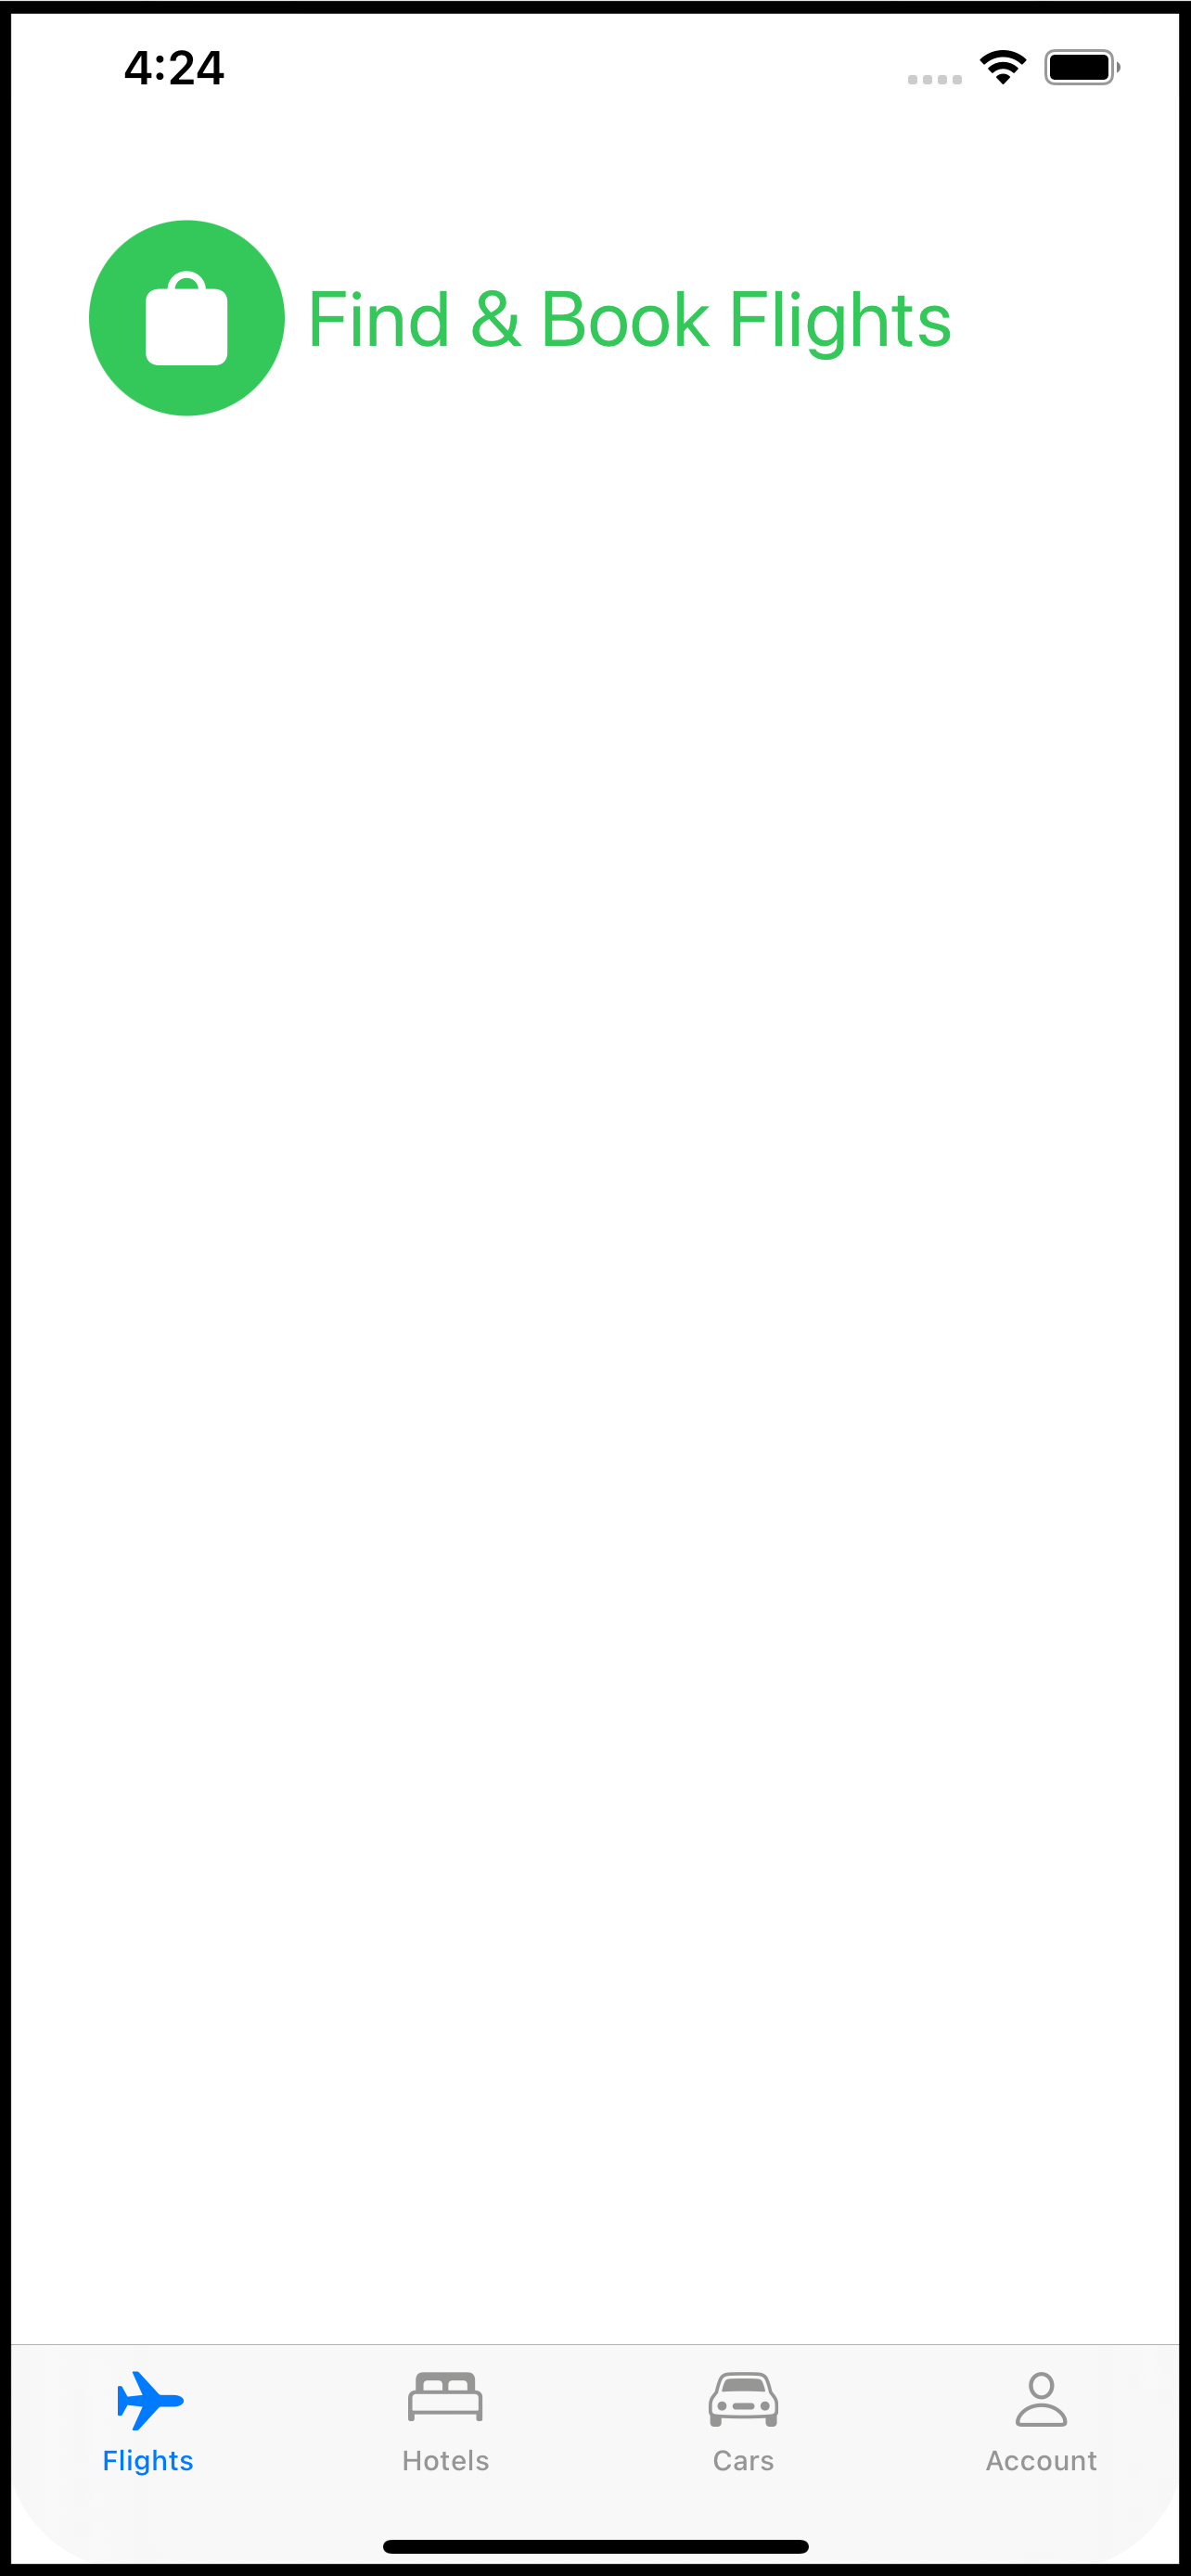
So imagine you have a travel app. The app has four distinct parts: booking a flight, reserving a hotel room, renting a car, and managing your travel account. For the sake of making my point, further imagine each of these parts has its own tab in the app. It is not important to this technique that your app use tabs but it is important that you divide your app into separate functional bits. Using tabs as an example makes it easier to conceptualize.
When you think about this app, it’s pretty clear that there are four distinct UI pieces. But there are a lot of things each piece shares. For example, string, graphic and color assets. Your app might also need to present a login screen at any time on any tab. Your app might have extensions to classes like Date, String, or View that are used on all of the screens involved with each tab.
Your app could be divided as follows (not comprehensive, just a sample):
Common Code
Assets (string, color, graphic)
Services (connection to remote systems)
Class extensions (Date, String, etc.)
Data models
Shared views (calendar picker, price calculator, chat with travel agent, login)
The App Itself
AppDelegateContentView
Booking tab
Booking View
Flight schedules
Flight selector
Hotel tab
Hotel View
Reservation systems
Car rental tab
Car Rental View
Car rental company selector
Rates and discounts view
Account tab
Profile View
Preferences and personal settings
Payment information
One more thing for your imagination: can you see developing each of things things almost independently? For example, booking flights by designing the screens to do that, updating the common data models, sending and receiving data between the app and the backend booking systems. That set of views that make up the booking tab is almost in and of itself, an app.
And this is where Xcode targets come in. Each of those bullet points above could be an Xcode target. Doing that separates the parts and allows each part to be independently built and tested. Each time you create something you can ask, “Is this going to be used exclusively here or could it be used in another part of the app?” If the answer is the latter, then you put that into the Common target.
Doing this is easier than you might think. If you already have an Xcode project set up to build an iOS app, follow these steps to add another target:
Select File-> New -> Target from the File menu.
In the dialog that appears, scroll down to the Application section and pick “App”. If you are a seasoned Xcode you, you could actually use something else, but picking an actual App as a new target allows you to run your code on its own. For example, as you build the Account target, your app can log into the backend system, create a user, update it, etc. You do not need to launch the whole (Main) app to test these pieces.
On the next screen, fill in the name (eg BookingModule or BookingTab) and pick Finish.
Your target is now part of your Xcode project. If you look at the schemes menu, you will see each appearing which means each can be built, tested, and run separately.
Go head back to the Common target which you can add in exactly the same way. The purpose of this target is to be a single place for all of the code that’s shared between the other targets. To use any of the code in this target (Common) with another target (say, Booking), you need to make sure it is included in the build for that target.
Pick a file in the Common target and open the File Inspector (options+command+1). There’s a section in the panel called “Target Membership”. The Common target will already be selected. Check the box next to all of the other targets that will use this common file.
You may have heard or read that building your own SDK is a good idea (such as the code that would be in the Common target of this example). And it is - it certainly makes building your app faster as the code in the SDK is built once, on its own, and just linked into the app. That would be the next level beyond this technique and if you want to do that, go for it!
Once all of the files are selected to be included in the right targets you can assemble the app in the App target. This will be the original target that is the app itself. It will be just like building an app normally, except most of the files will reside in other targets.
The advantages to this technique are:
Forces you to think about your app as an assembly of parts.
Each part of the app is nearly independent and can be run and tested, to some degree, without the other parts. Don’t under estimate the value here. While you develop the hotel reservation target, your QA team could be testing the flight booking target.
Organizing common code into its own target makes it easier to update as the changes apply across the app.
Faster on-boarding of new team members and its easier to divide up the work.
How you divide your app up is, of course, up to you. But if this gets you thinking about code organization - even if you just use folders instead of targets - then it will be worth it. New members to the team will have a much easier time figuring out where things are and how the app works.
Happy Coding